Building the Cluster
Hardware construction steps for the Raspberry Pi cluster
Buck DC-DC Converter
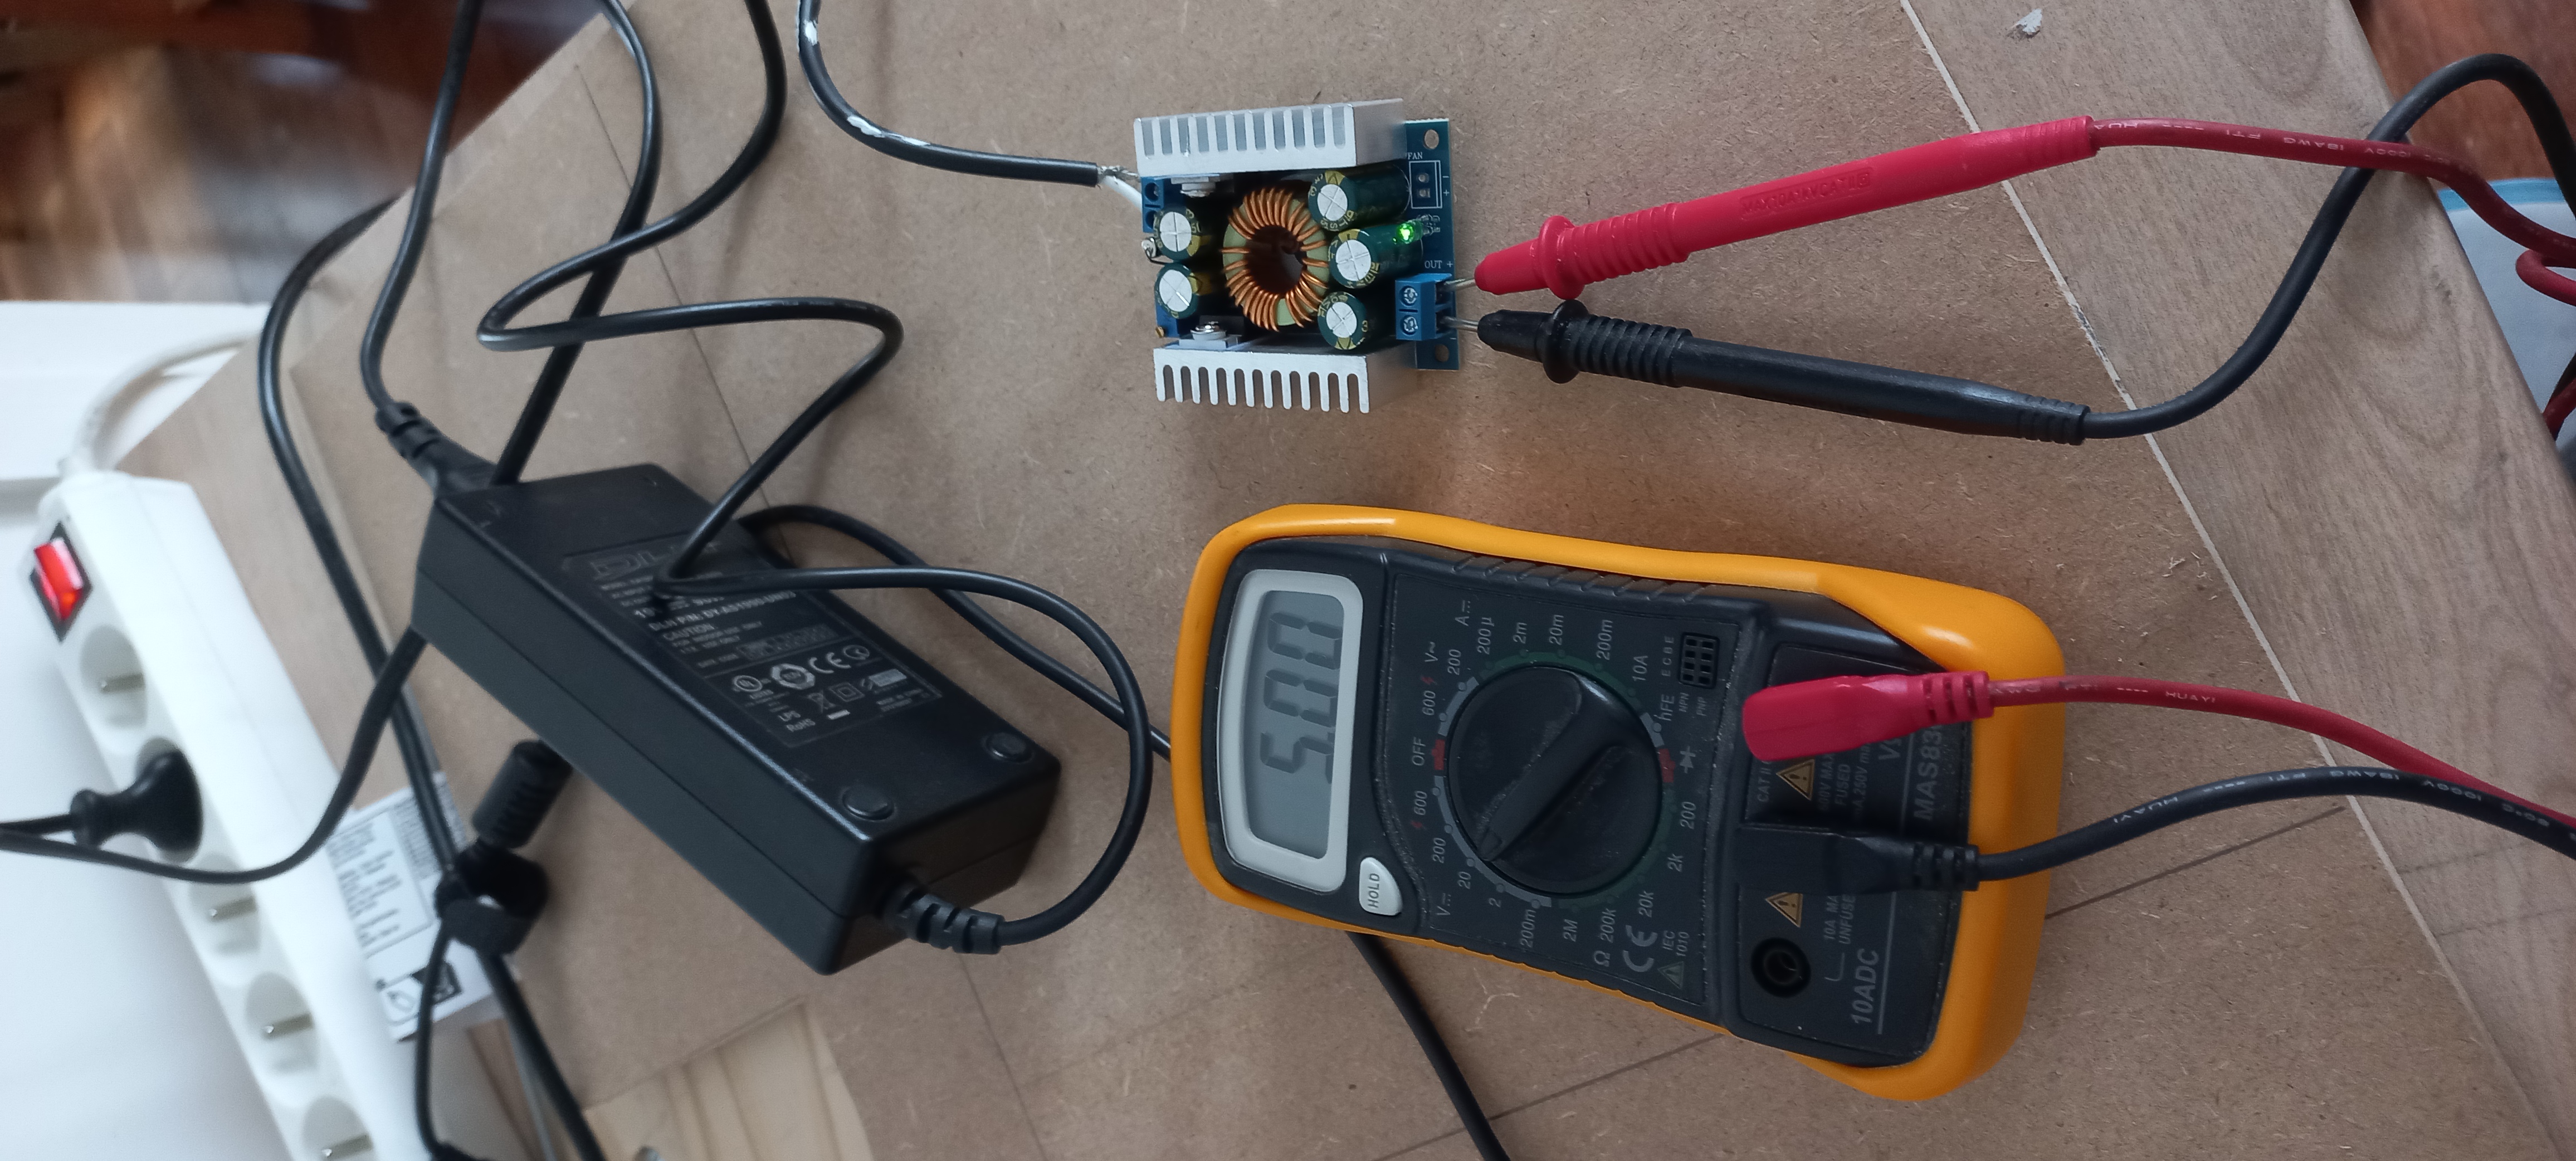
Before assembling anything, the power supply needs to be validated. The step-down buck converter is responsible for bringing the LiPo battery voltage down to a stable 5 V for the Raspberry Pis. First test on a breadboard to check regulation under load.
Parts Layout
Once all components are gathered, a full layout is planned before committing to permanent wiring: the four Pis, the gigabit switch, the charge controller, the converter, and the Arduino supervisor. This step helps verify space constraints and anticipate cable routing.

Case Preparation
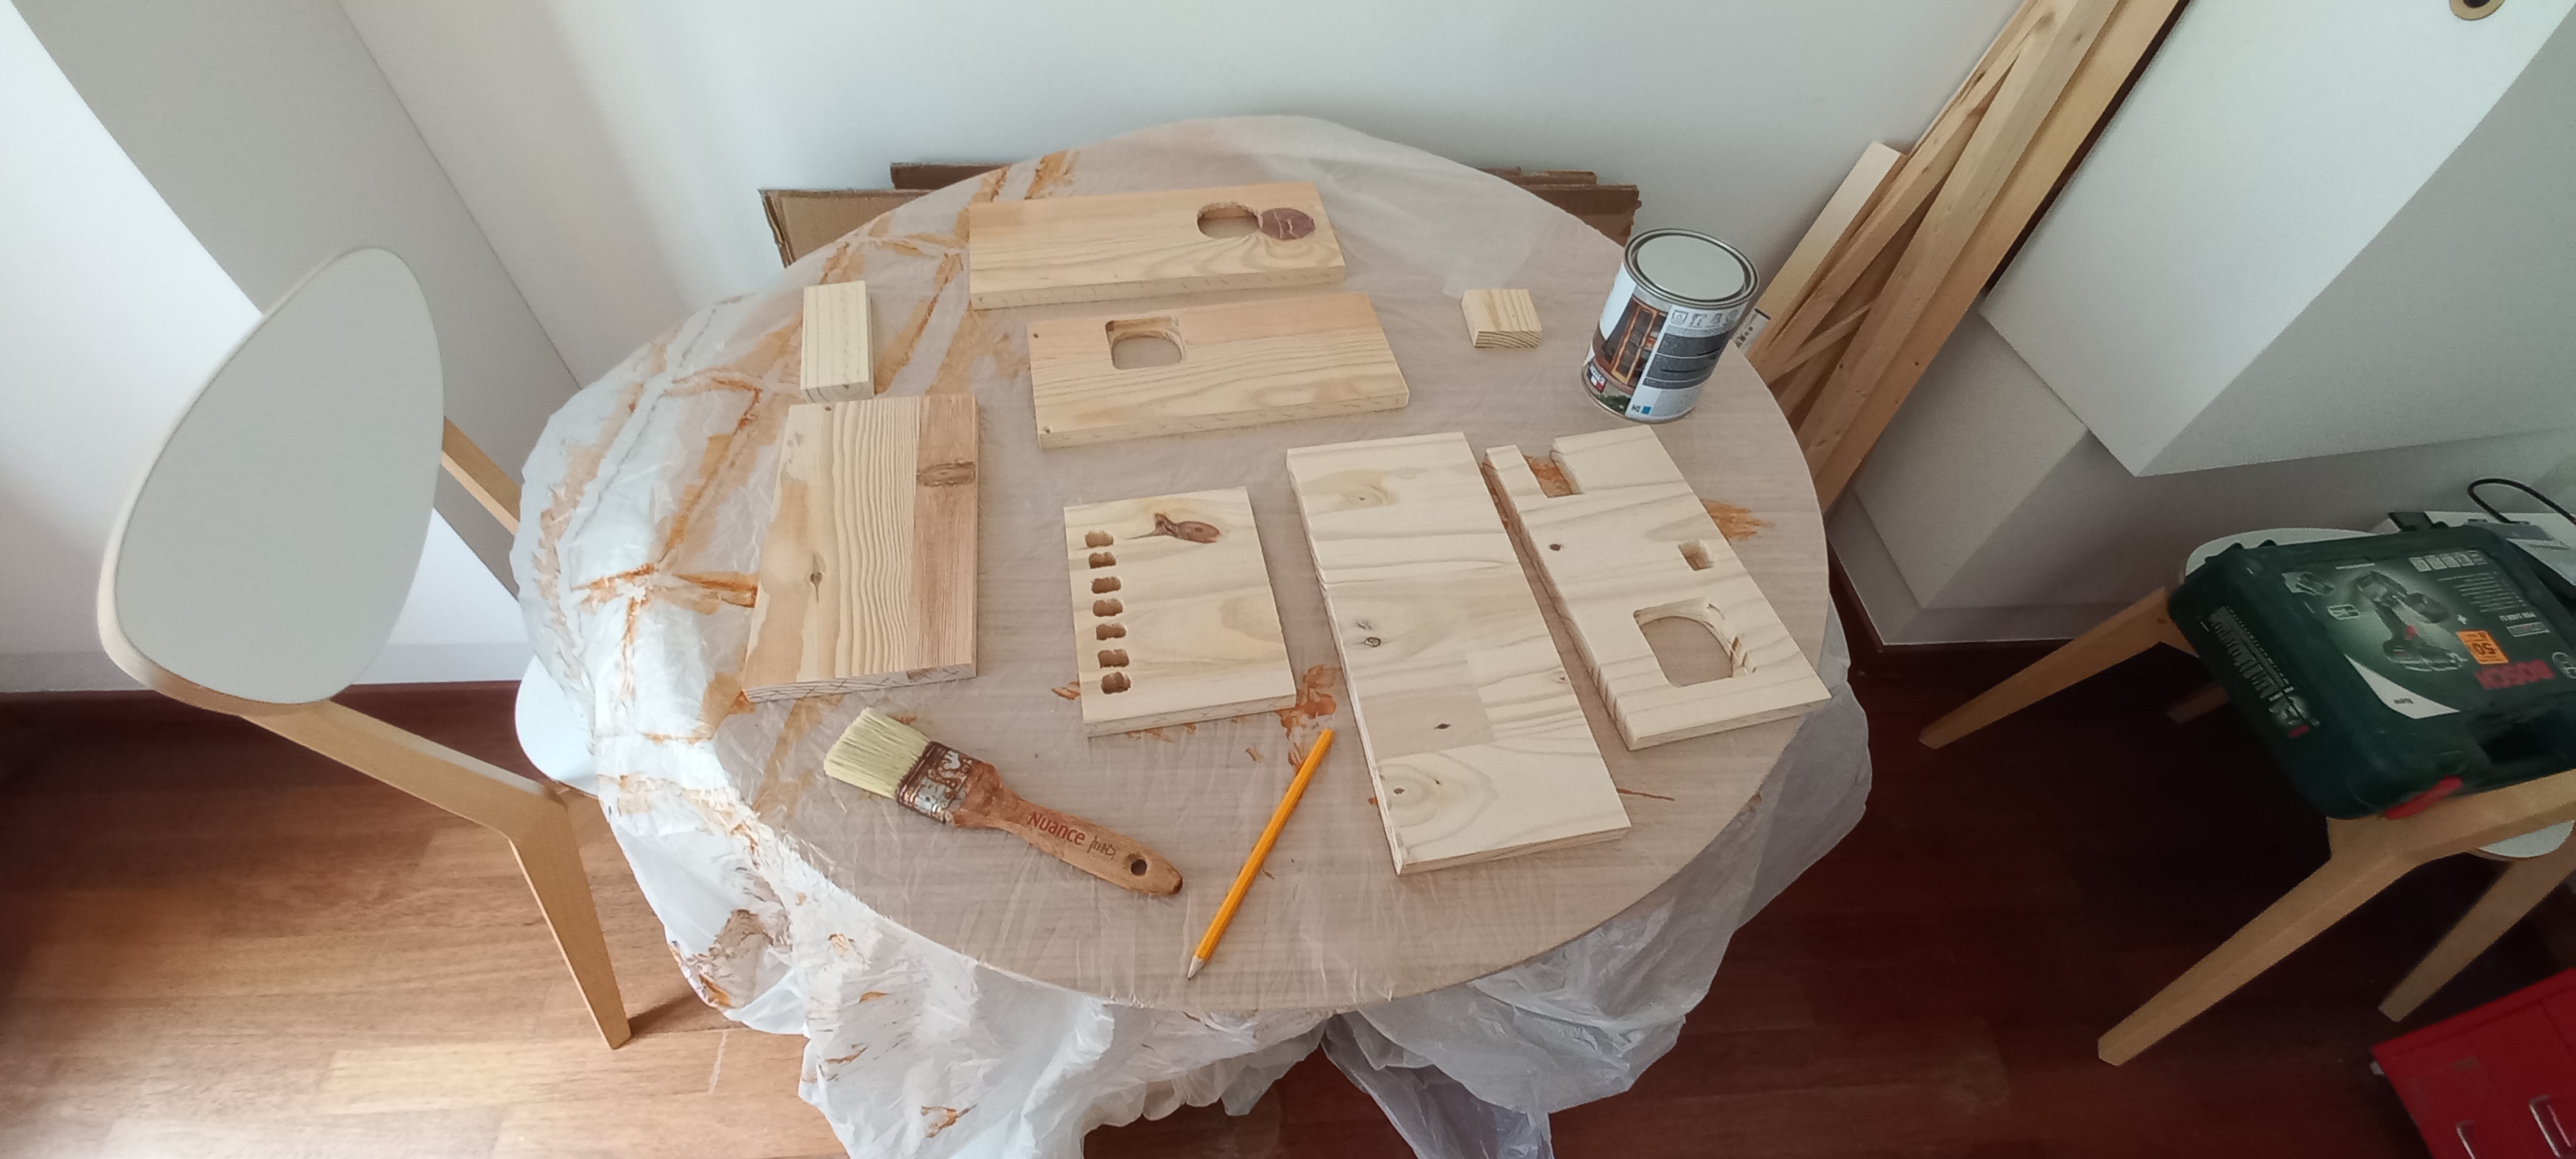
The case is custom-cut to fit the Pi rack, switch, and power/UPS block. Ventilation cutouts and connector holes are made at this stage, before any surface treatment.
Varnishing
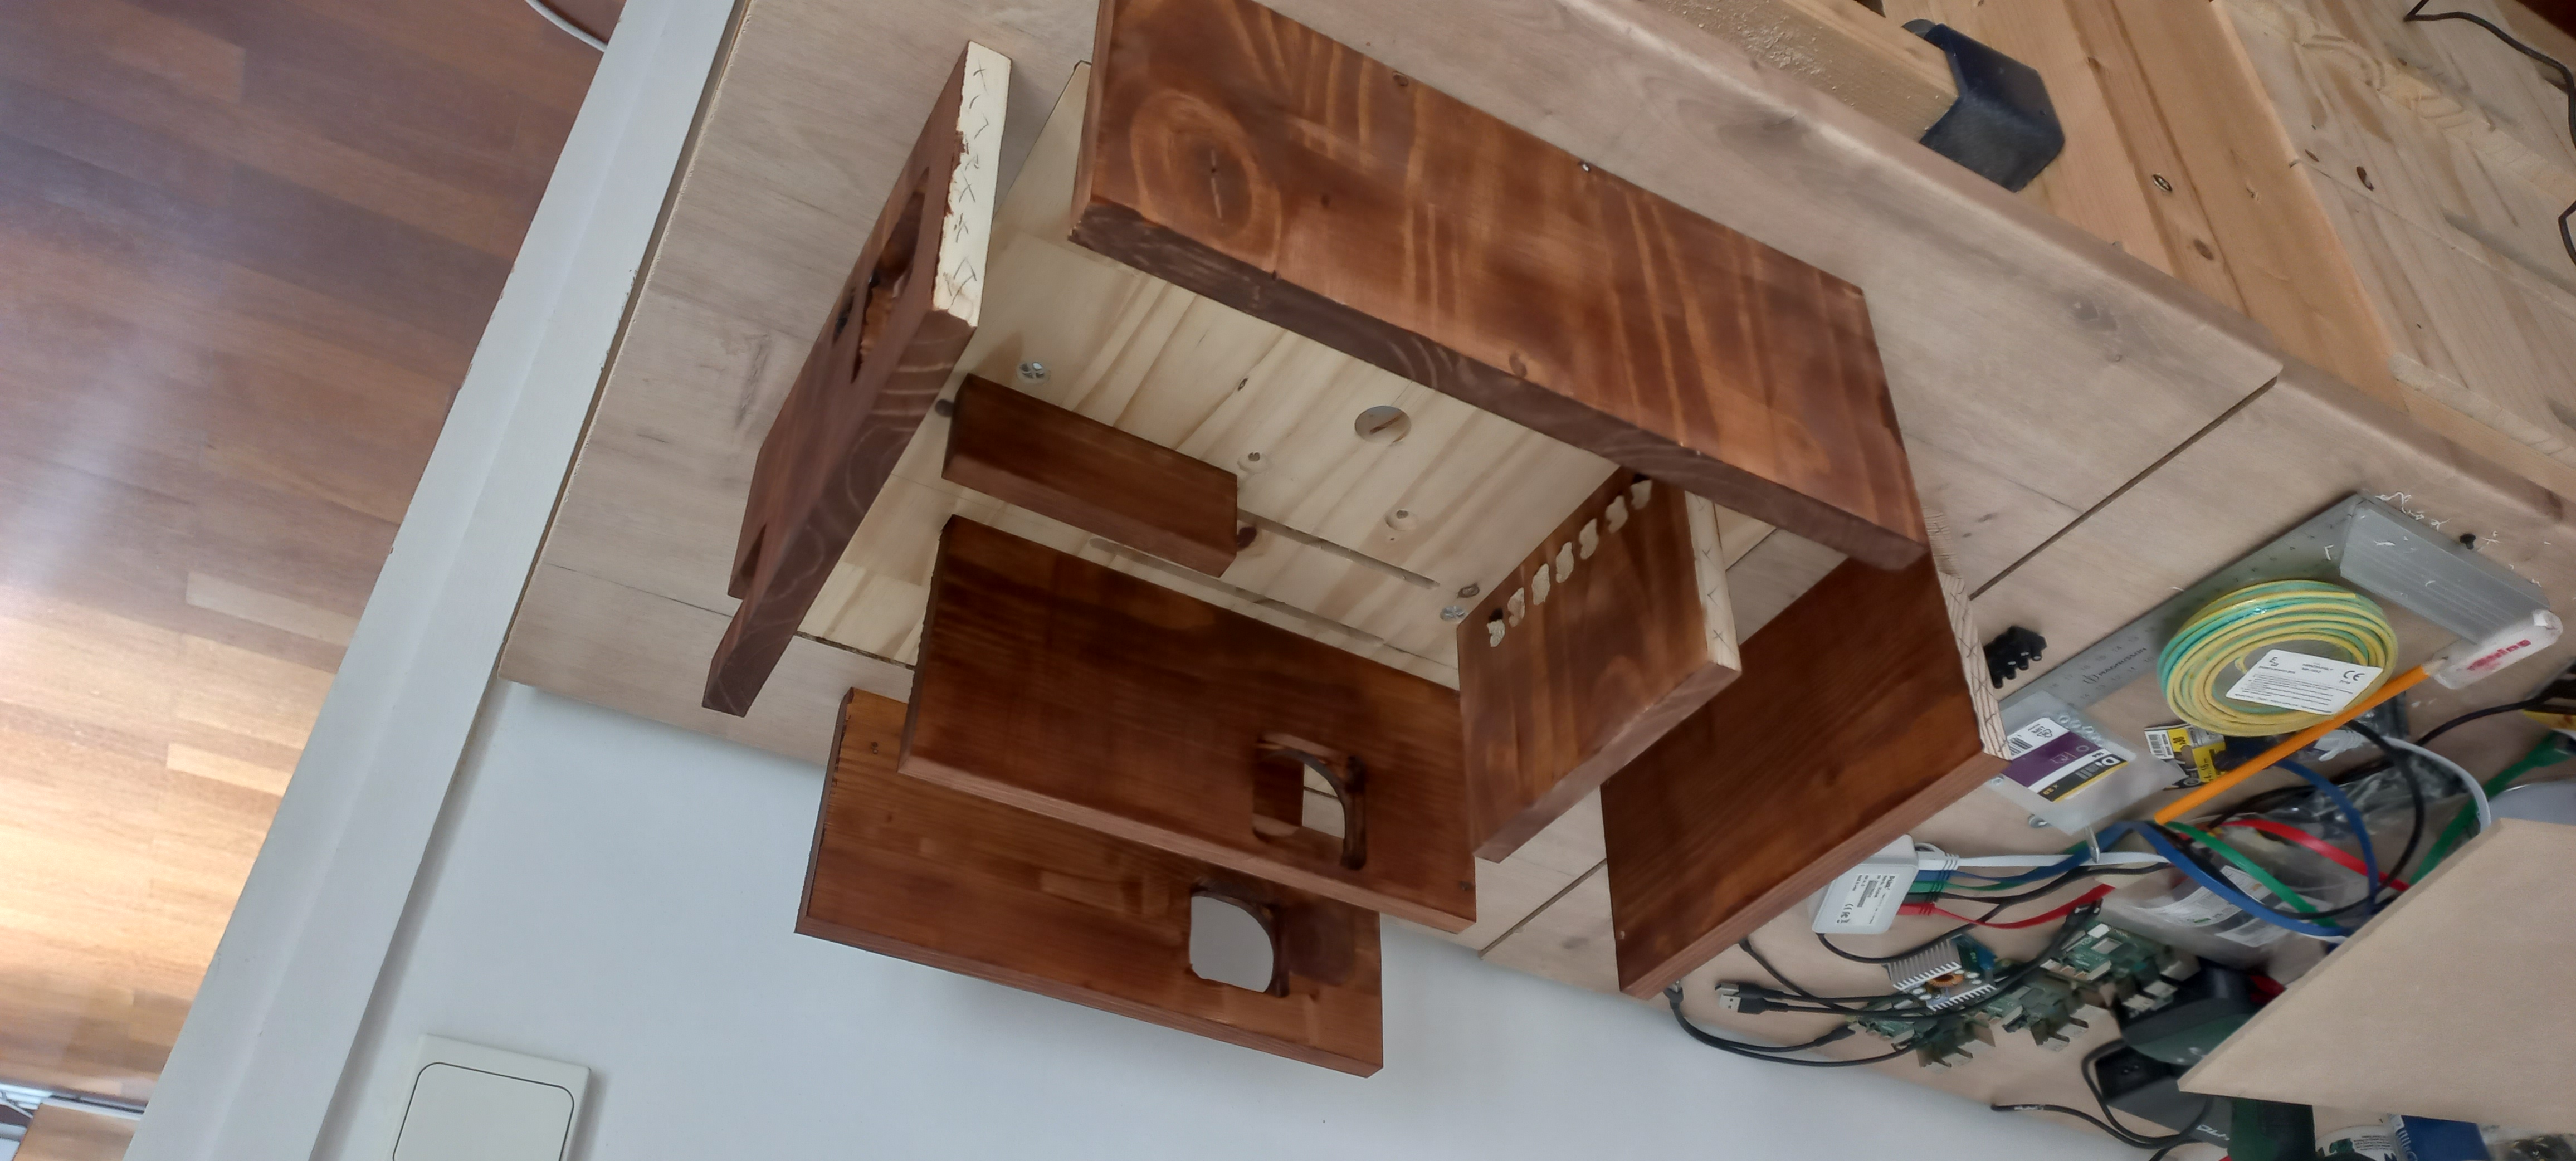
The wooden case is varnished to protect it from moisture and give it a cleaner finish. Two coats of matte varnish are applied with drying time in between.
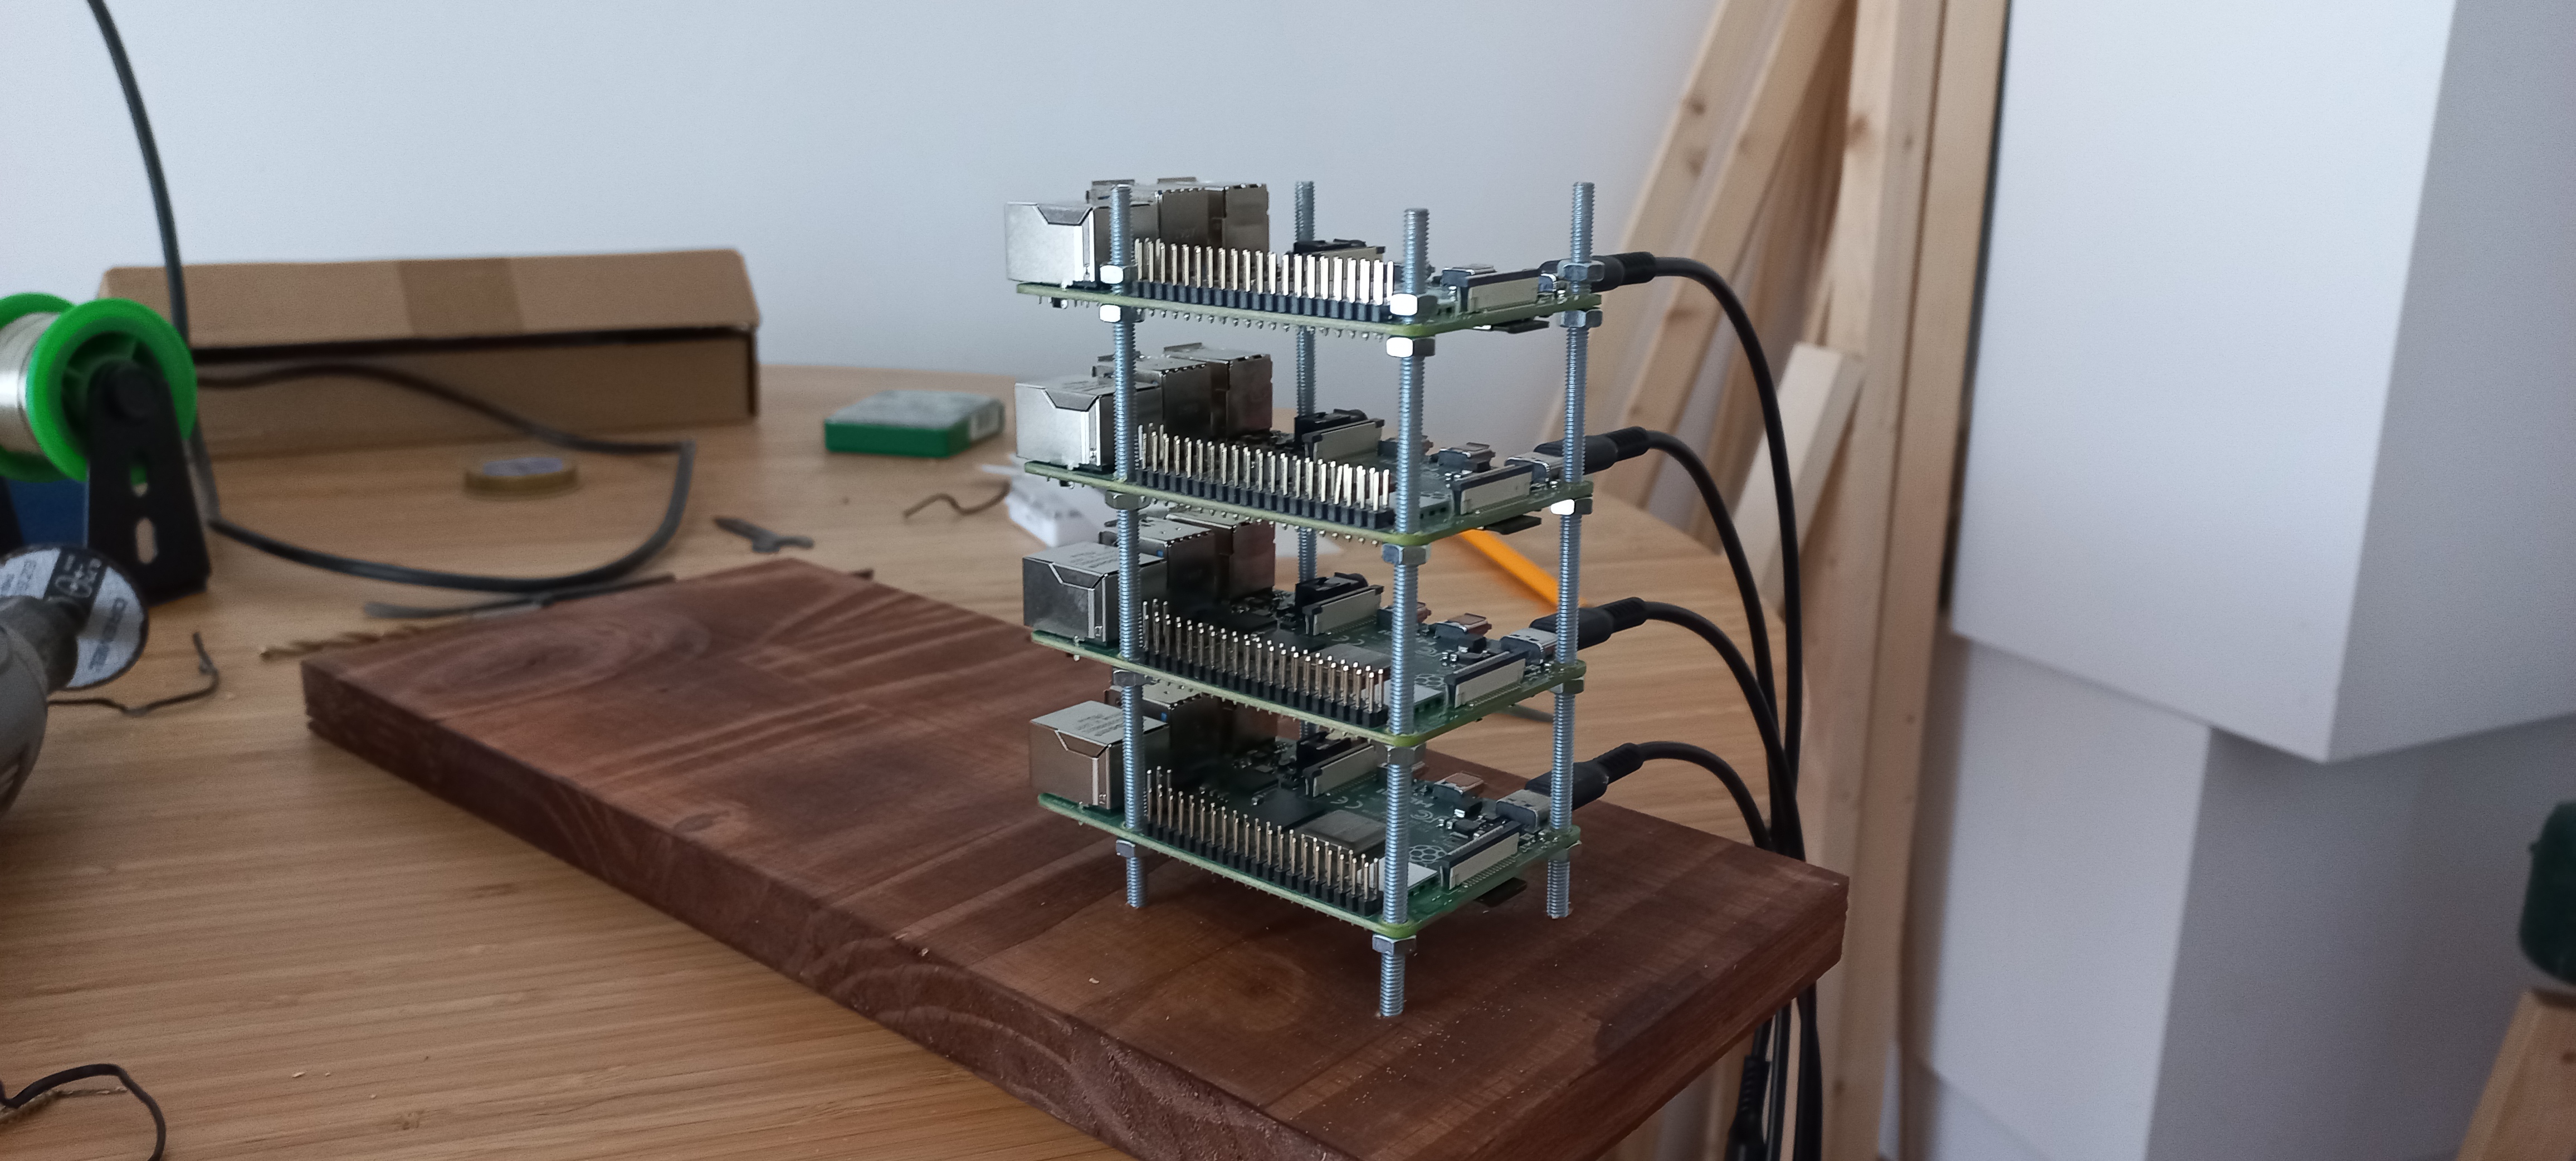
Raspberry Pi Rack
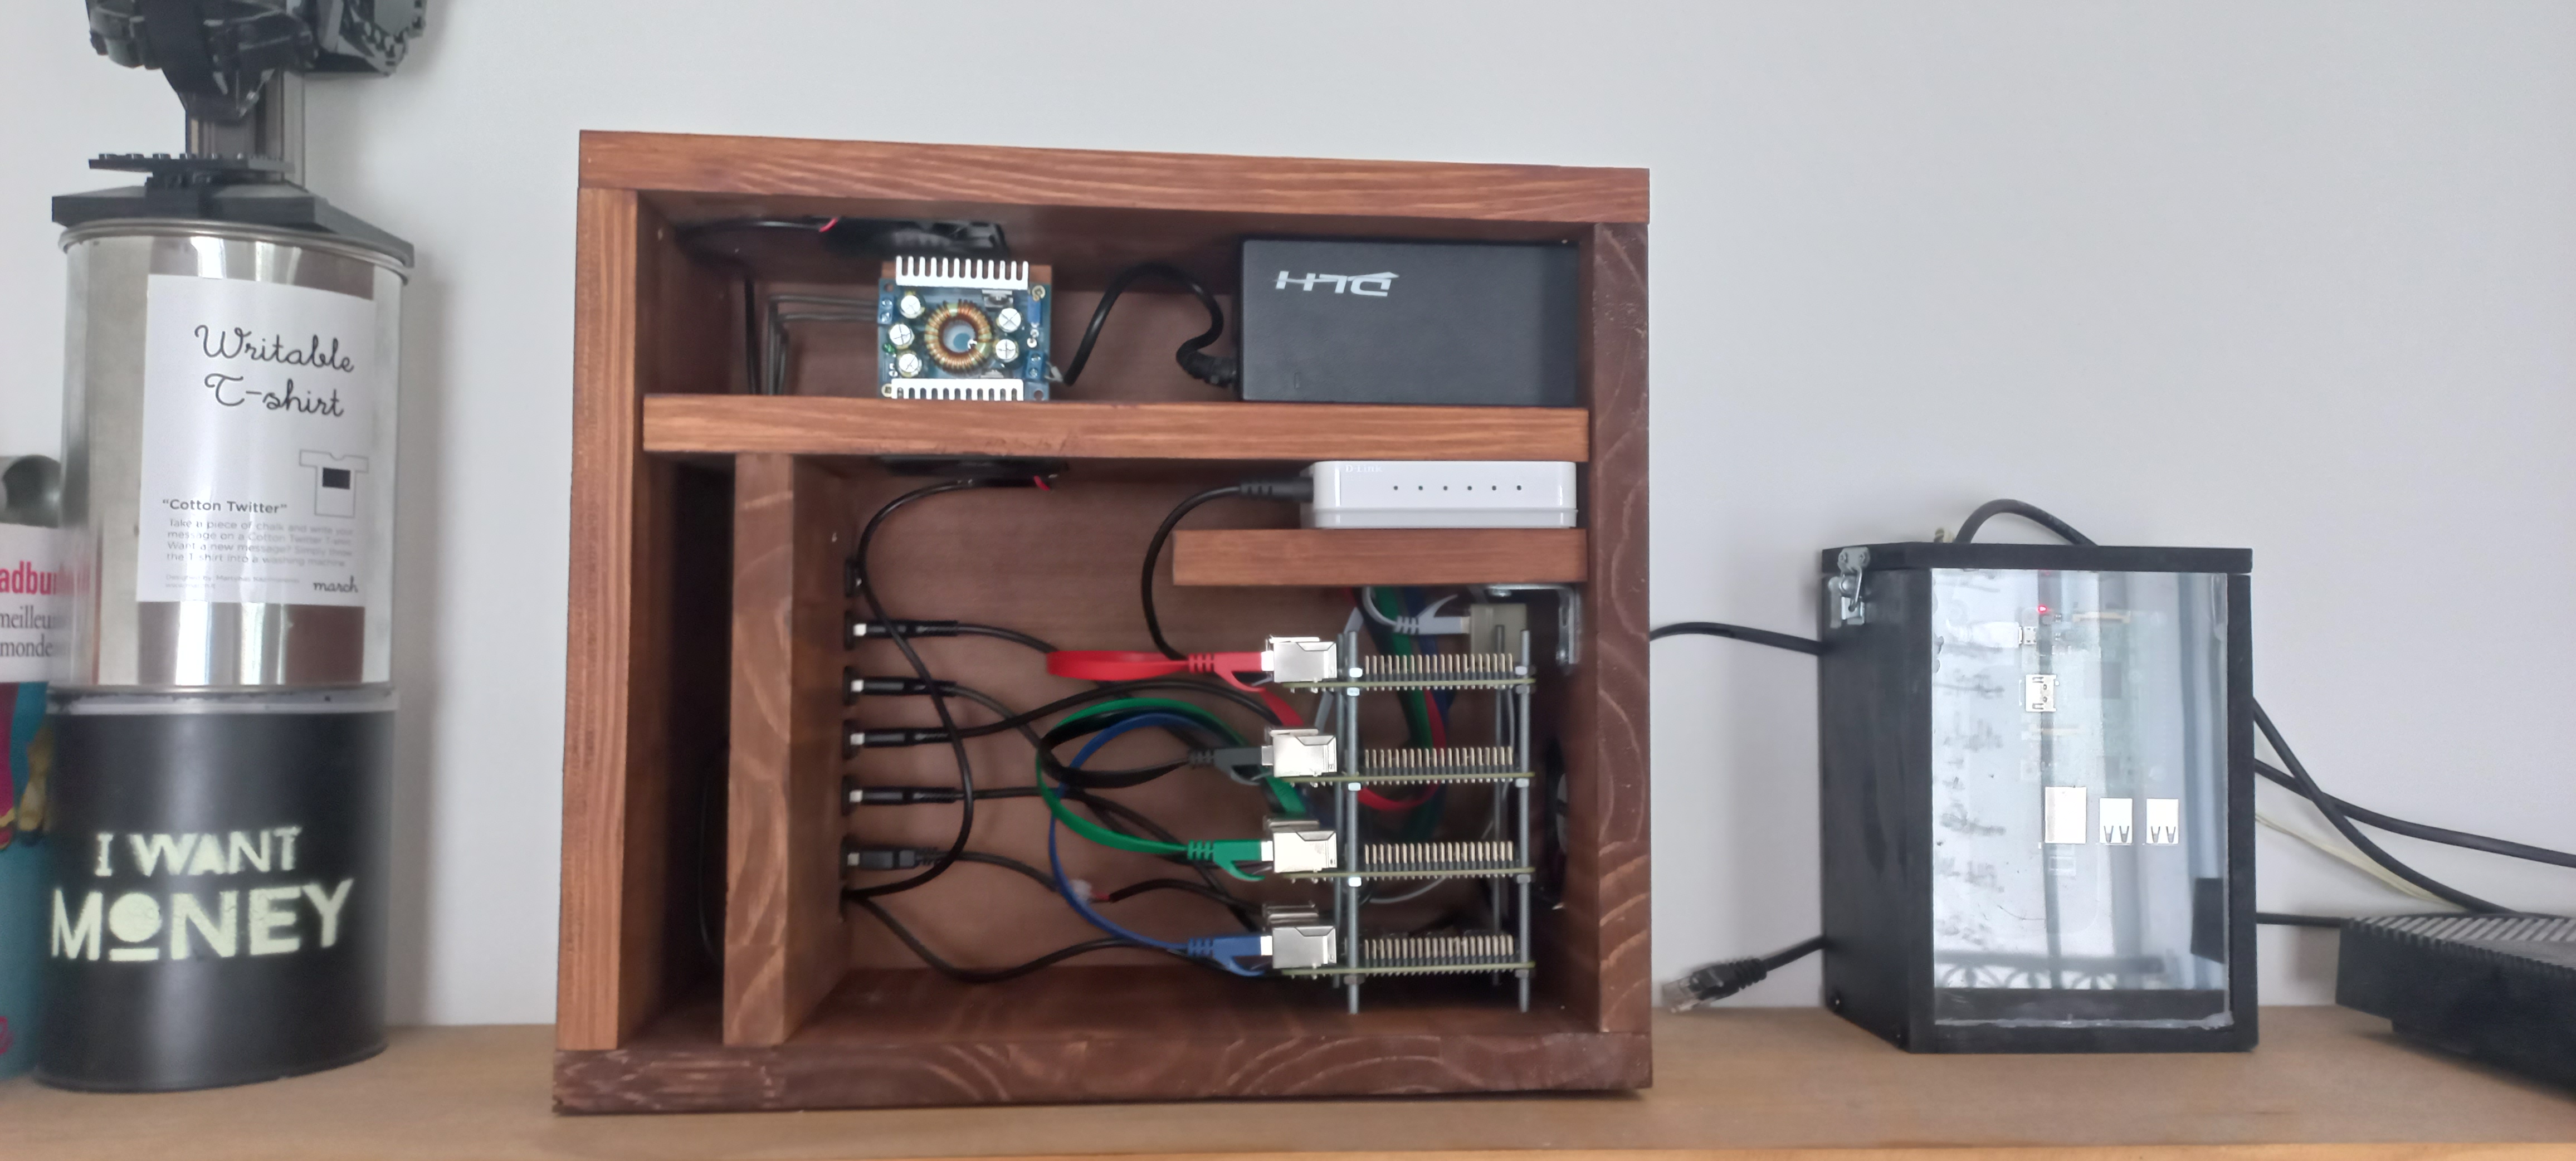
All four Raspberry Pi 4s are mounted on a 3D-printed rack and screwed into the case. Power and Ethernet cables are routed to keep everything tidy and accessible.
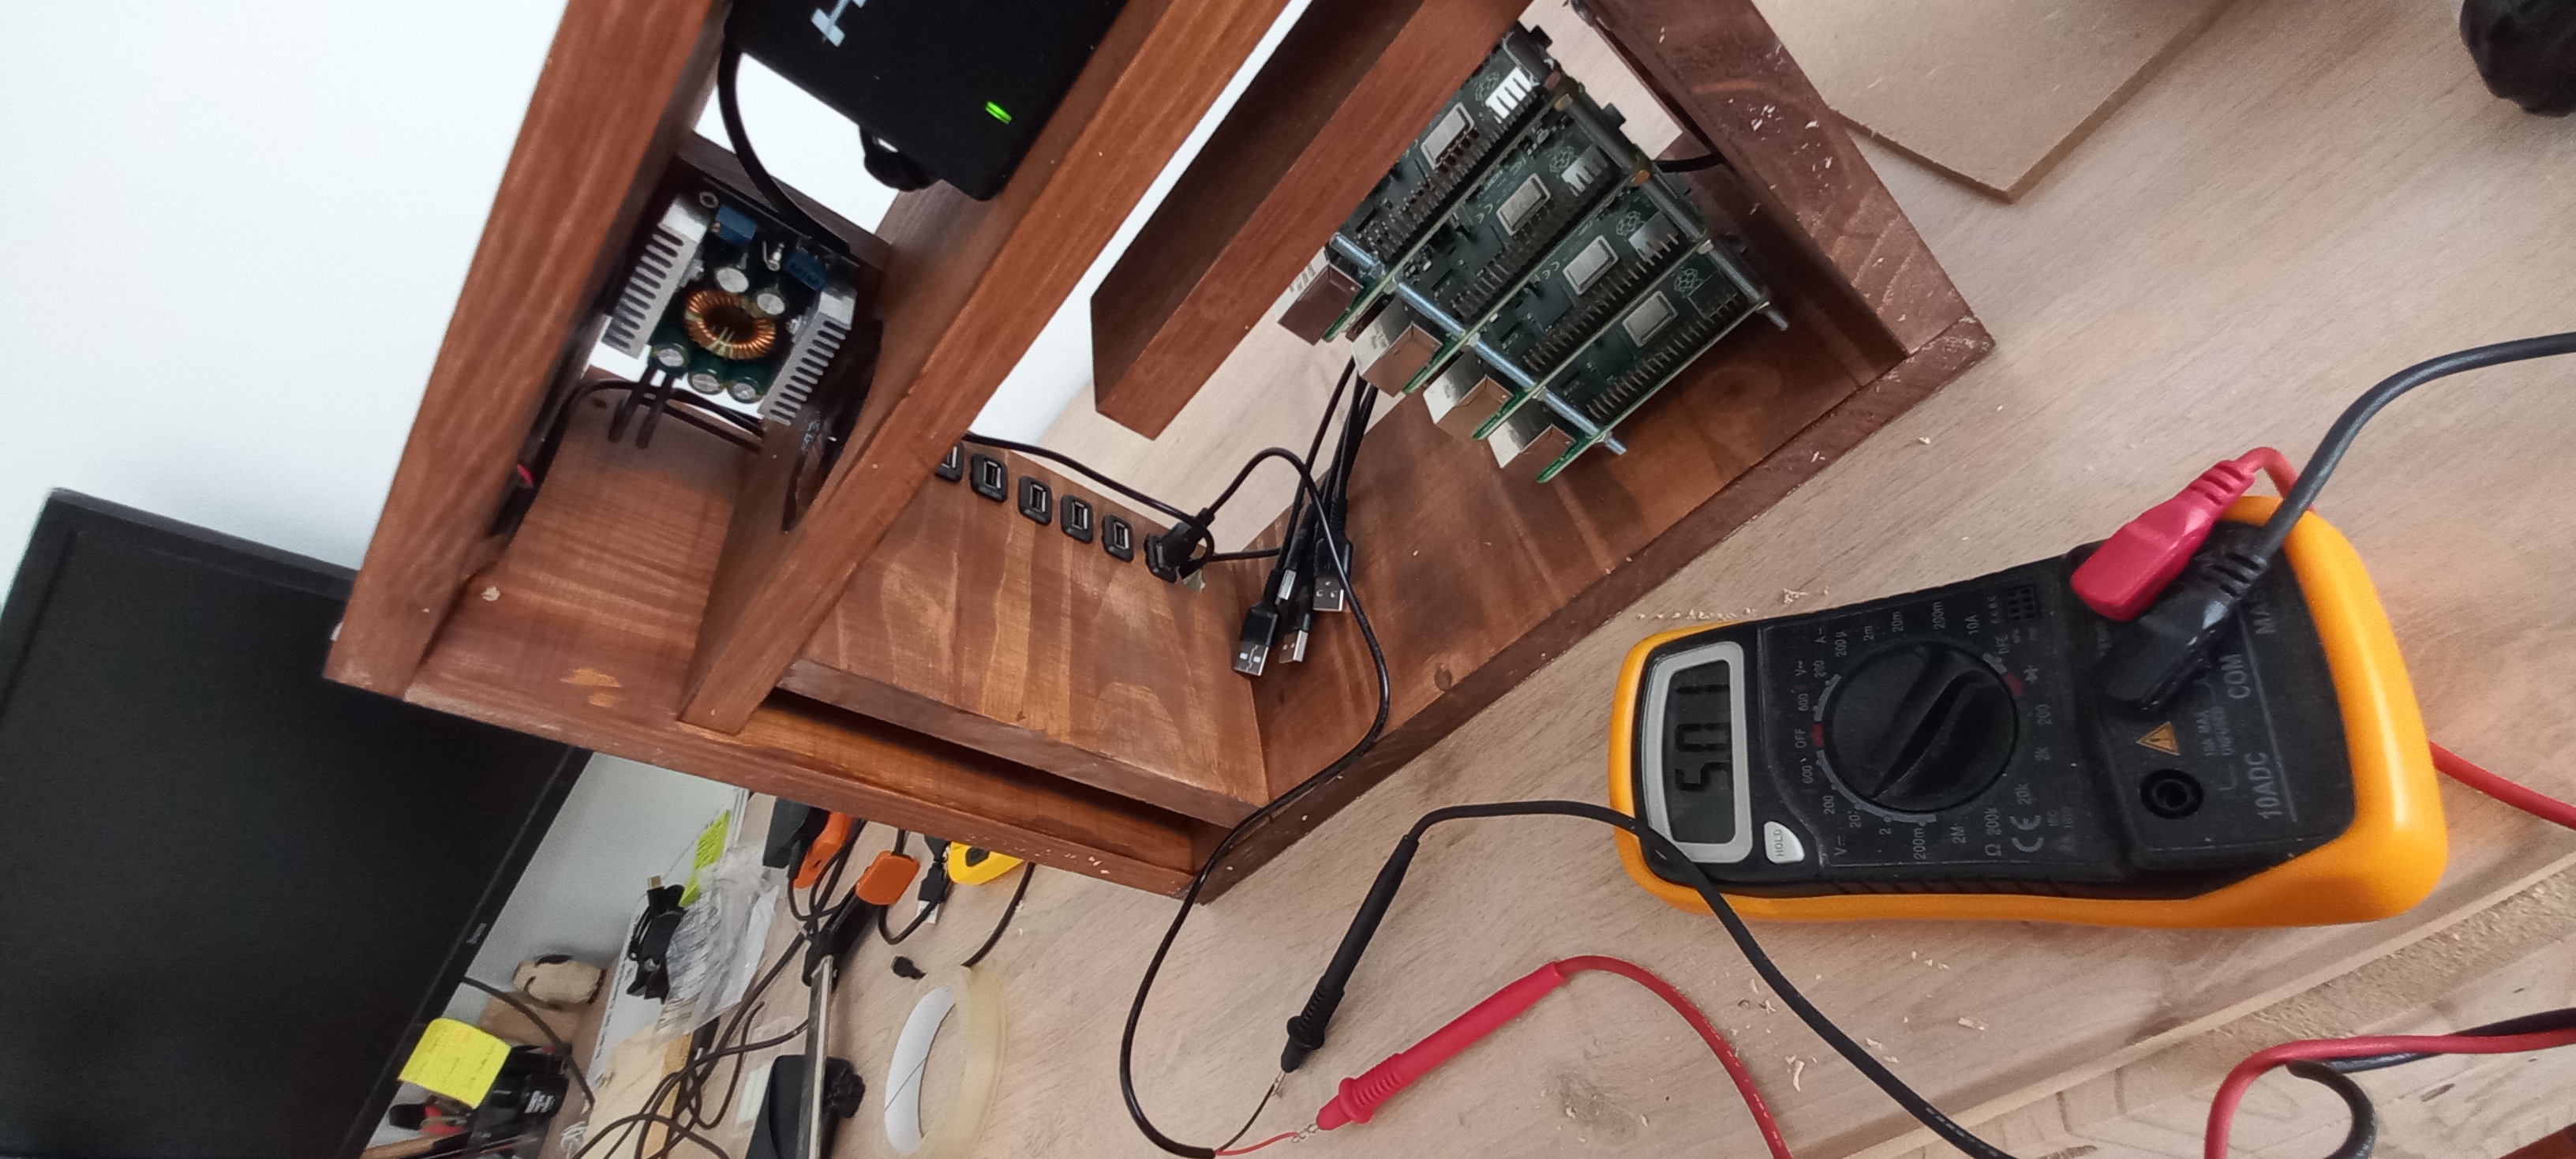
Final Voltage Check
Before powering up the Pis, one last check with the multimeter on converter and charge controller outputs: 5.1 V under load, within tolerance.
Before First Boot
The cluster is wired, powered, and ready to be switched on for the first time. All nodes are connected to the switch; the control plane Pi is tagged with a sticker. Time to launch k3s.